Adding the Timelines extension to your application
As we previously outlined in our Timelines extension overview, the Timelines extension enables users to access a log of information relating to any number of entities.
For example, you may wish to keep track of a history of bookings which are created, updated, or deleted by users of your application. The Timelines extension will allow us to not only view a list of chronologically logged actions across an entire collection of bookings, but also a filtered down look at any changes made to a single booking item.
How to model the Timelines extension
Configuring your Entity Diagram
- To get started using the Timelines extension in your application, simply create a new entity or select an existing one in the entity diagram on the platform.
For this example, we will consider the following Booking entity.
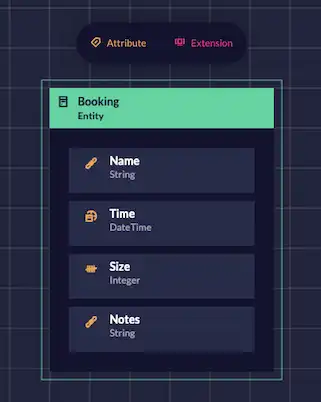
- With the entity selected, click on the ‘Extension’ button in the entity’s panel, and choose the ‘Timelines’ option.
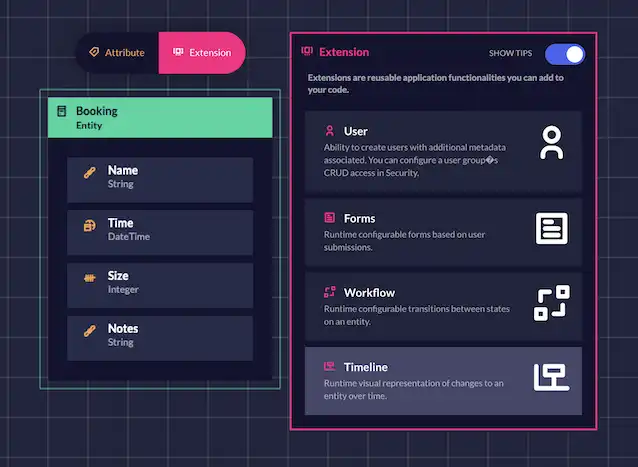
- If done correctly, the Timelines extension should be listed alongside the existing attributes in your entity.
Once we have activated the Timelines extension in our entity diagram, the next step is to configure the user interface to display the timeline where we wish it to appear in our application.
Configuring your User Interface Diagram
- In the user interface diagram on the platform, create a page which is going to hold you Timeline.
- With the page selected, find the ‘Timeline Tile’ listed in the left-hand panel and add it to your page.

- Once you have added the Timeline tile, it should appear in your selected page on the user interface diagram as shown below.

- With the tile selected, update the tile properties by linking it to an entity. You can select either an ‘unlinked entity’ which already has the Timelines extension in the Entity diagram, or an entity with no Timelines extension. Selecting the latter will add the Timelines extension to that entity in the entity diagram.

Now we have set up our timeline to appear in our application, the final step is to configure our security model to control our users’ permissions to access this.
Configuring your Security Diagram
In the security diagram, you will want to ensure the different users of your application are granted the correct permissions.
In the model shown below, we can allow any Admin users to Create, Read, Update and Delete any data under the Booking entity that we have activated the Timelines extension. Additionally, any Admin users will have permission to ‘Read’ or view the page Home where we included our timeline previously.

Once you are happy with your entity, user interface and security configurations, go ahead and click on the ‘Build app’ button in the top right-hand corner. It’s now time to watch the bots work their magic!
Was this article helpful?