Ubuntu 18.04 Virtual Machine Setup
To setup a local server operating system from scratch, you will need to download the Oracle VM VirtualBox Manager and install Ubuntu.
Approximate setup time is 30-40 minutes.
- Download and install the latest copy of Oracle VM VirtualBox for your host OS.
- Download a copy of Ubuntu Server v18.04.3 LTS 64-bit (Bionic Beaver)
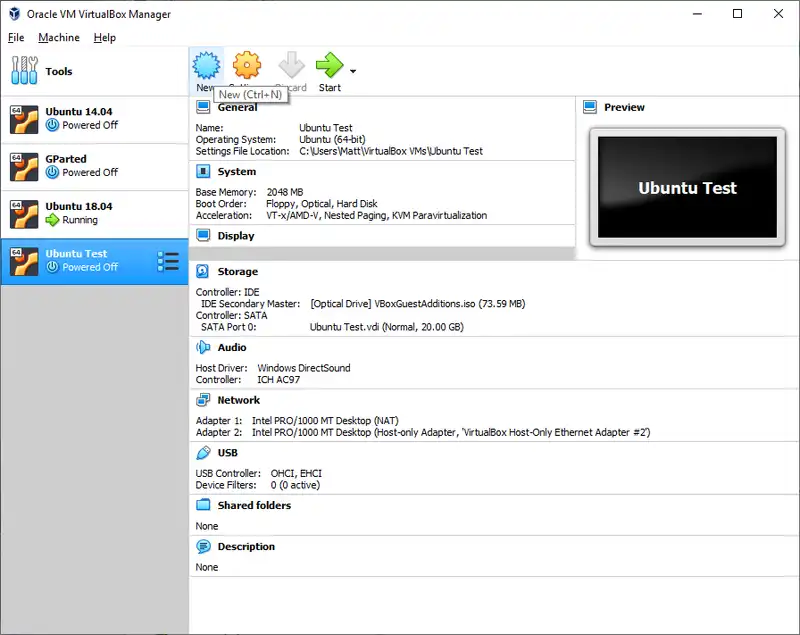
- Start VirtualBox and create a new Virtual Machine
-
Click the New Button.
-
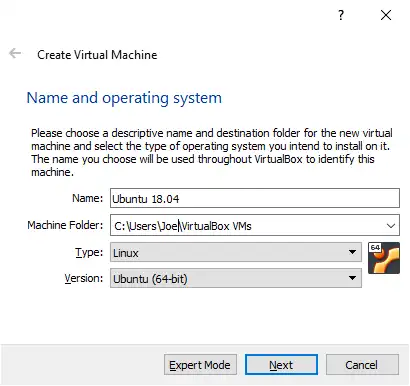
Fill out the name and operating system.
-
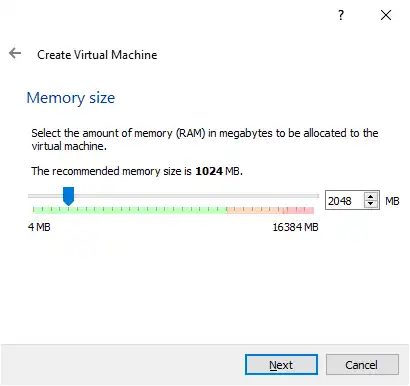
Set the memory to 2048 MB. If you find this is too slow, you can change it at any time while the VM is shutdown.
-
Create a virtual hard drive now.

-
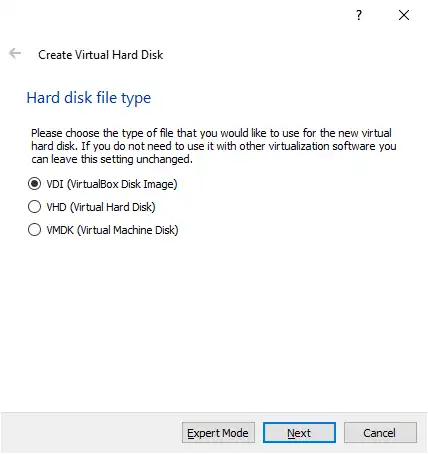
Select the VDI (VirtualBox Disk Image) as your hard drive file type.
-
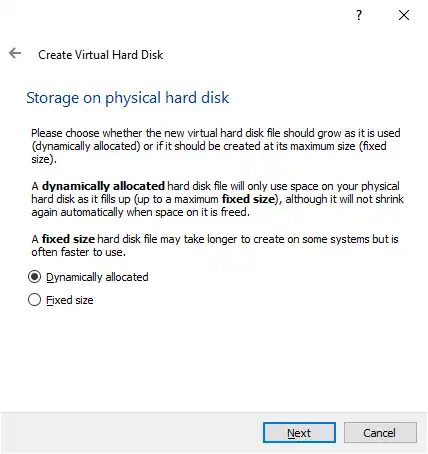
Set storage on physical hard drive to dynamically allocated.
-
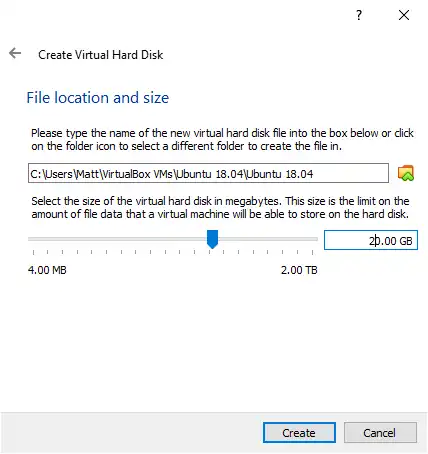
Change the name to include a date like Ubuntu 18.04 VM 20190129 and the size to be at least 20GB. The more the better! Changing this later is not an easy task.
-
Click the “Create” button to finish the initial configuration.
-
-
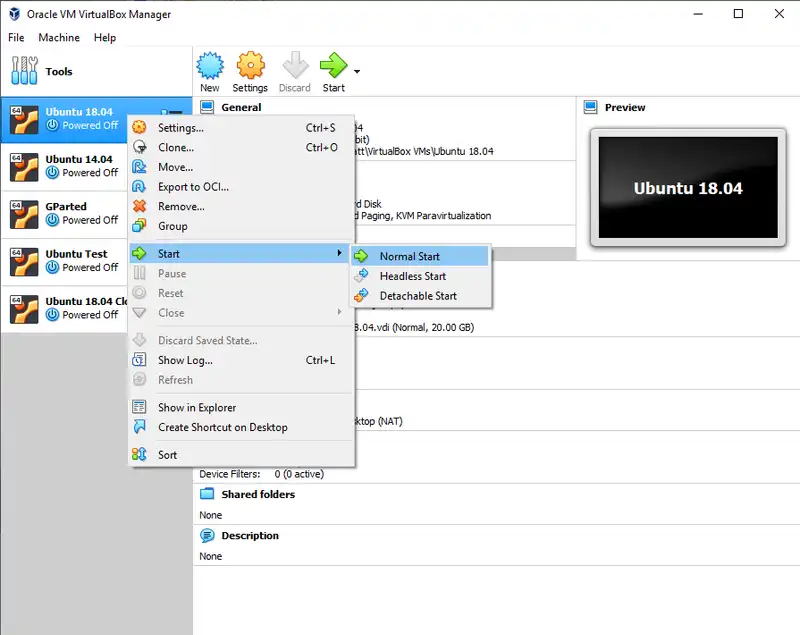
Start the virtual machine.
-
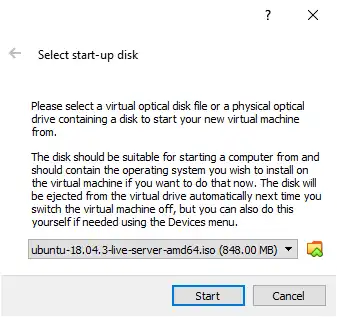
When the pop-up dialog appears, select the Ubuntu 18.04 iso you downloaded earlier.
-
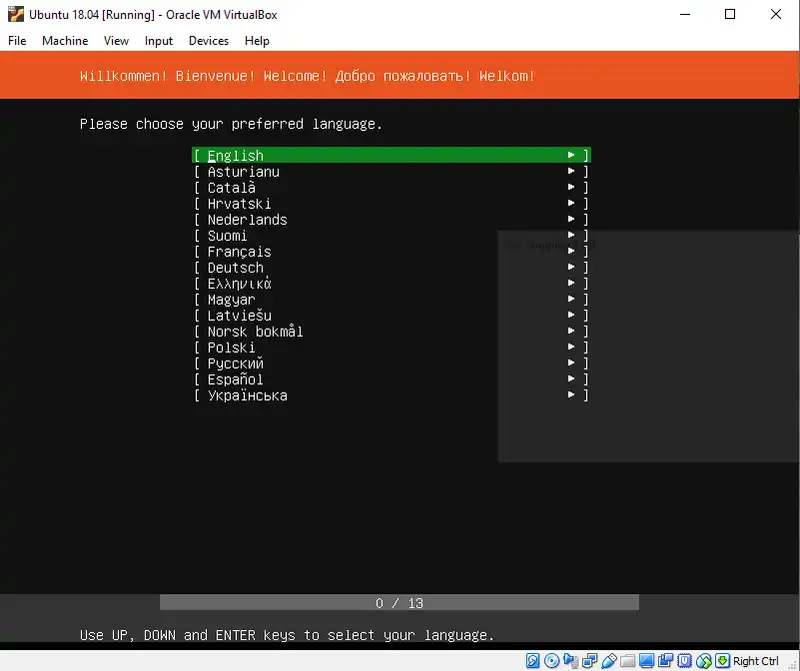
Select your language.
-
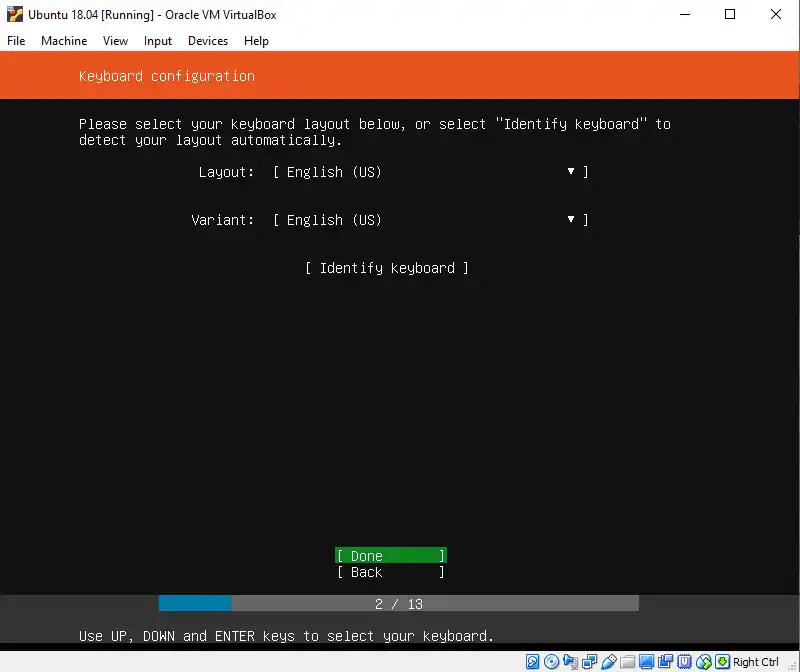
Select your keyboard config.
-
Press Enter to select the default network connection configuration.

-
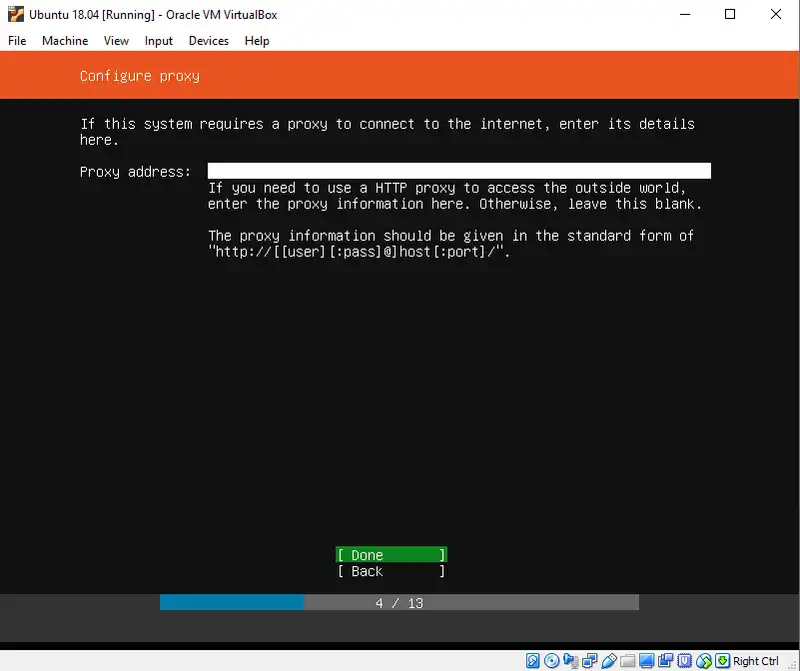
Press Enter to skip adding a proxy
-
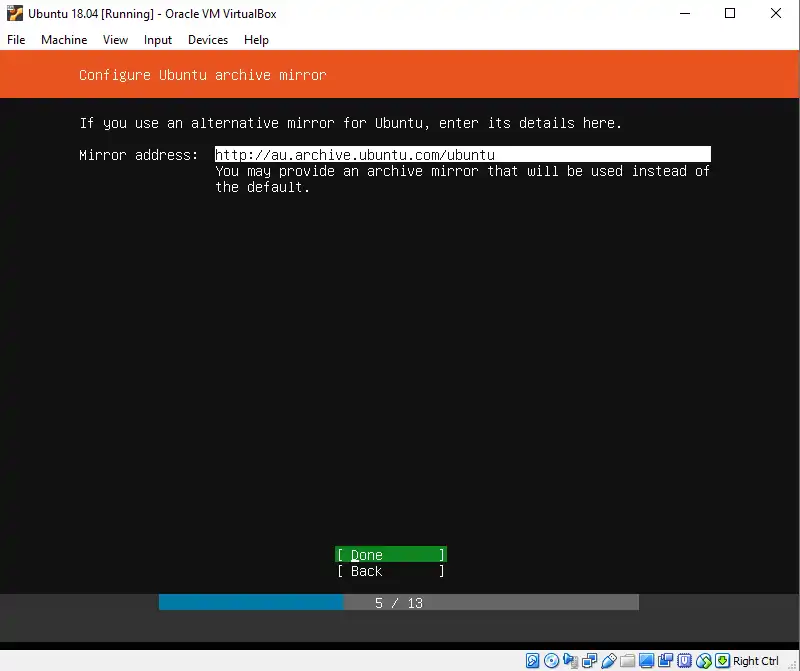
Press Enter to select the default Mirror address.
-
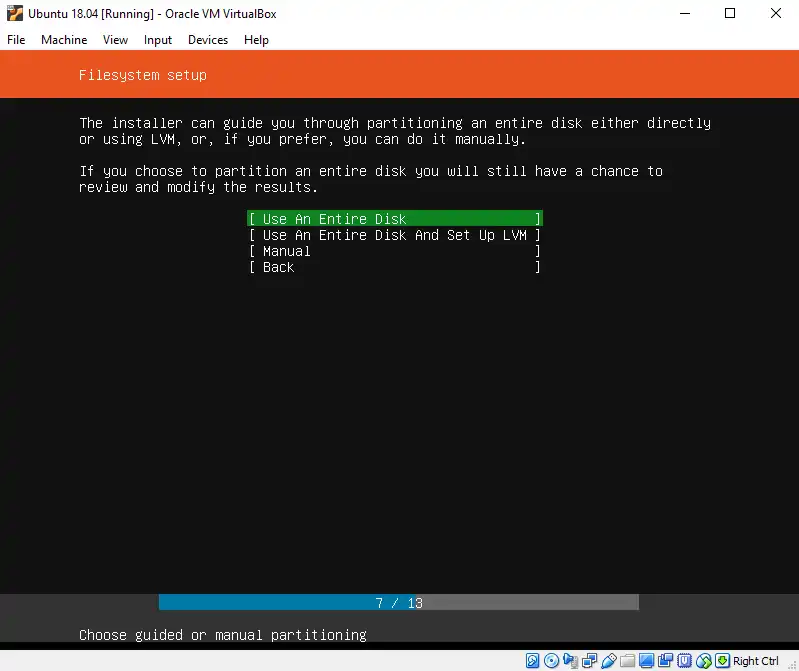
Ensure that “Use an Entire Disk” is selected and press Enter.
-
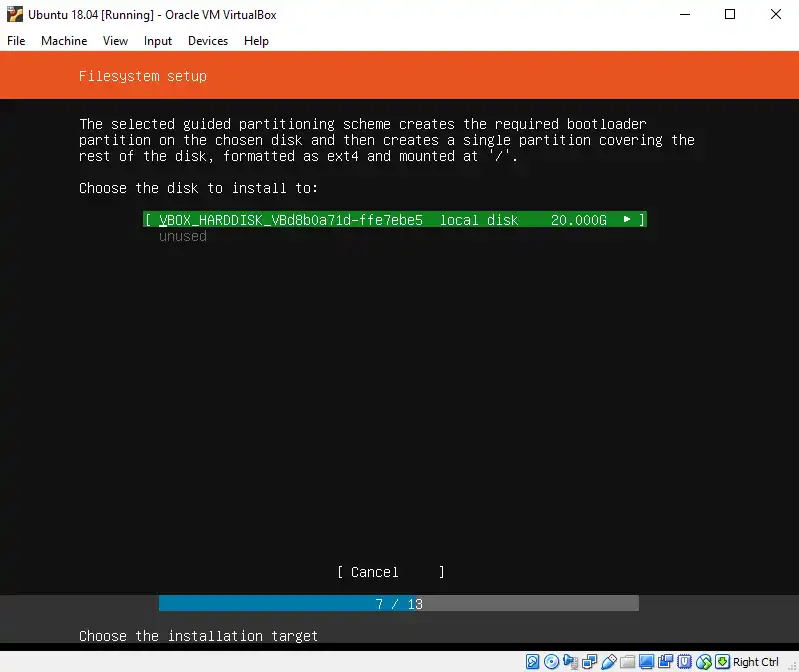
Press Enter to continue when presented with the virtual disk image we created earlier.
-
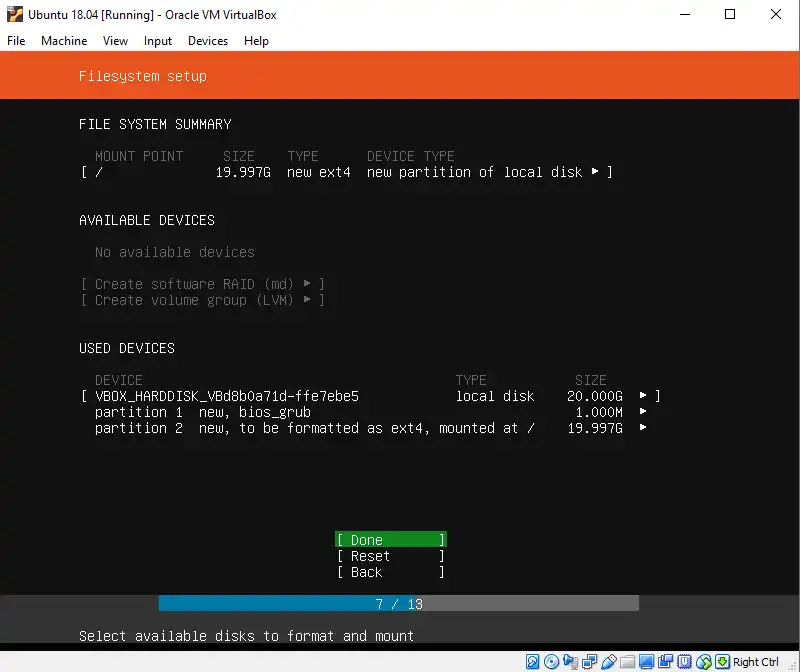
We are now presented with the hard disk partition schema of the new virtual machine. Ensure that “Done” is highlighted and press Enter to continue.
-
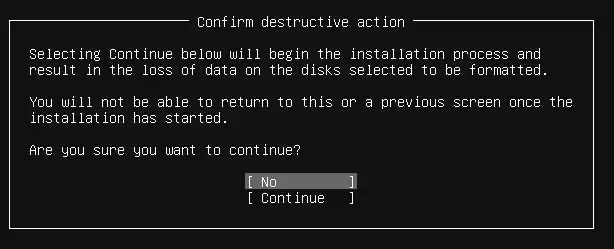
Select and highlight “Continue” and press Enter to confirm the hard disk config.
-
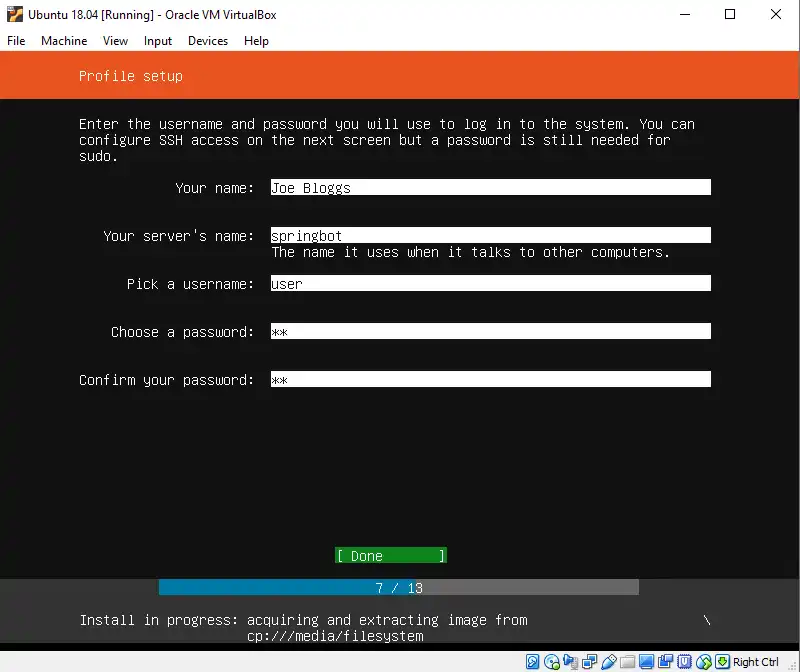
While Ubuntu 18.04 is installing, you must enter some user information. This creates the default user. Enter the following information for your Codebots app:
- Your name:
Joe Bloggs - Your server’s name:
springbot - Pick a username:
user - Choose a password:
cb - Confirm your password:
cb - Click “Done”
- Your name:
-
Install OpenSSH now, so that you can SSH into your server for future steps. Press the Space Bar to select the “Install OpenSSH server” option, tab to “Done” and press Enter.

-
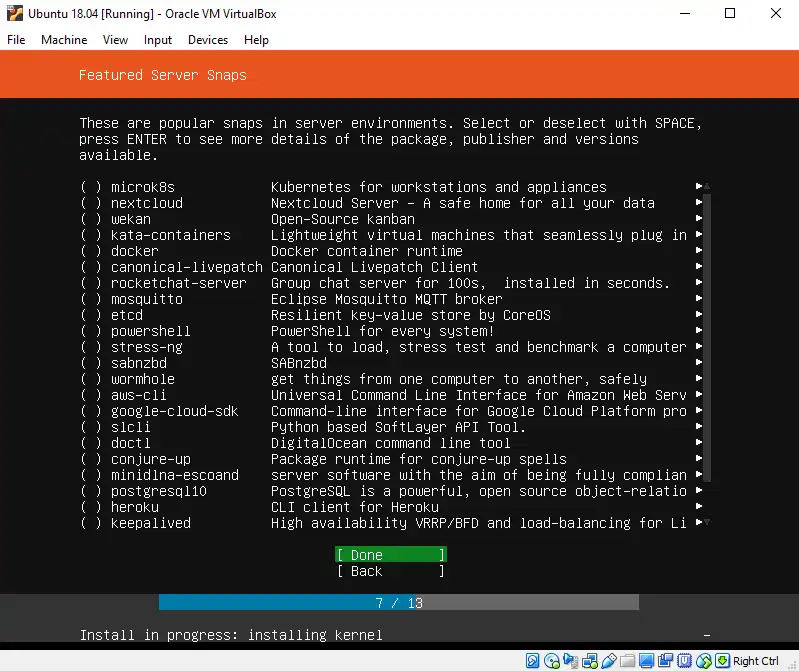
You do not need to install any servers at this stage. Tab to Done and press Enter.
-
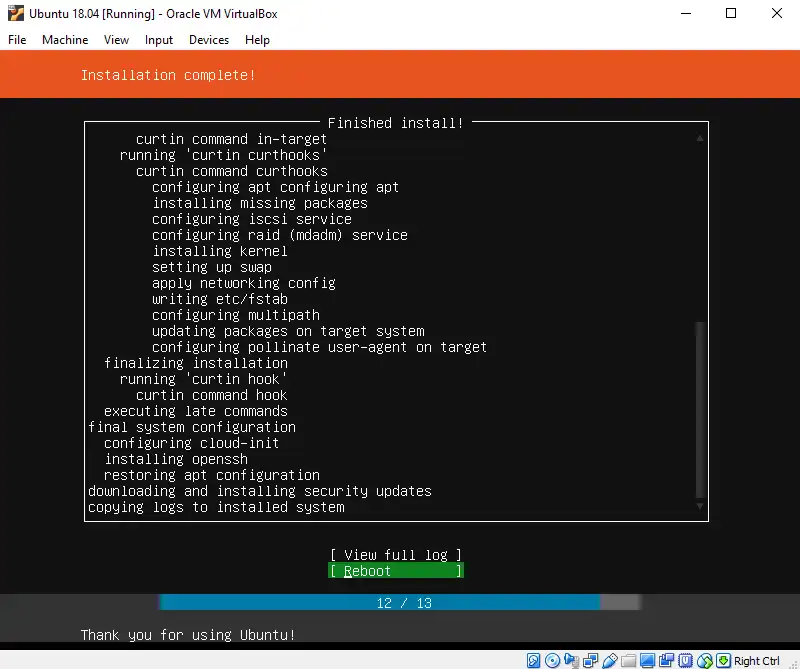
Once the installation completes, select “Reboot Now” and press Enter.
If you are on a laptop using battery power, the update may fail. Please ensure you are plugged into a power source
-
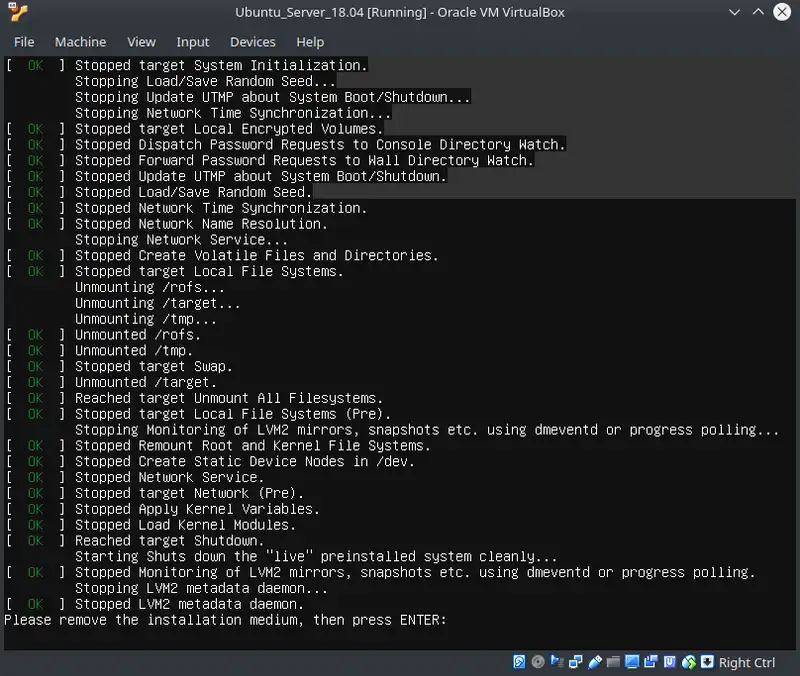
You will be prompted to remove the installation media before rebooting. Simply press Enter to continue.
-
Login to the server using the credentials you set above:
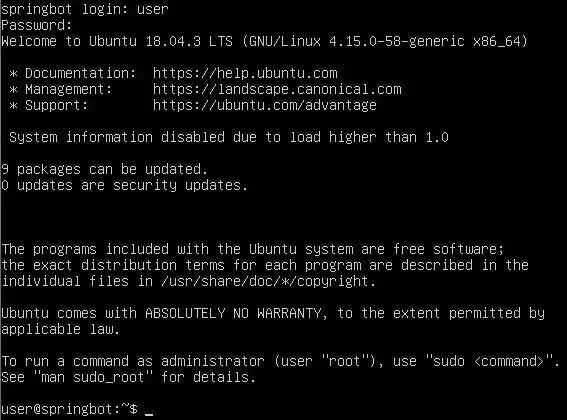
-
Update the OS. Type in the following commands one at a time, press Enter and wait for each command to stop running. The command prompt will become available again after each process is finished.
sudo rm -rf /var/lib/apt/lists/* sudo apt-get update sudo apt-get upgrade -
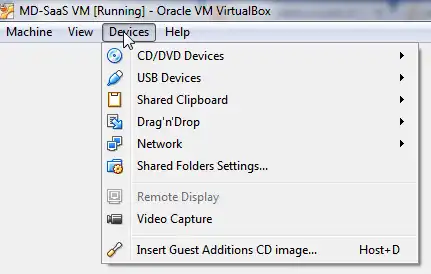
Install the VirtualBox Guest Additions.
-
The CD icon at the bottom of the Ubuntu VirtualBox window should be greyed out, indicating that there is no CD in your virtual machine.
-
In the VirtualBox Guest window, click Devices > Insert Guest Additions CD Image.
-
The CD icon in the bottom tray of the Ubuntu VirtualBox window should now be filled in.

-
Now install the additions in your VM. Type the following into the command prompt and wait for the prompt to become available after each process is finished.
 sudo apt-get install make gcc
 sudo mount /dev/cdrom /mnt
You will see a warning that it is read only. This is fine. Continue
cd /mnt sudo ./VBoxLinuxAdditions.run -
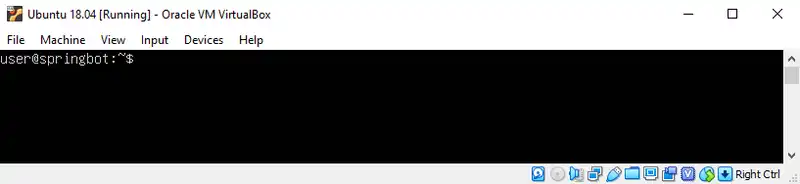
Shutdown your virtual machine so that you can configure a virtual network adaptor. Running this command will close the Ubuntu VirtualBox window, but your main VirtualBox window will still be open. Type the following and press enter.
sudo shutdown now
-
-
In your main VirtualBox window, add a “Host Only” Adapter so you can SSH to the server
- Configure a Host-only Network via the VirtualBox manager (File > Host Network Manager>)
-
Click “Create”
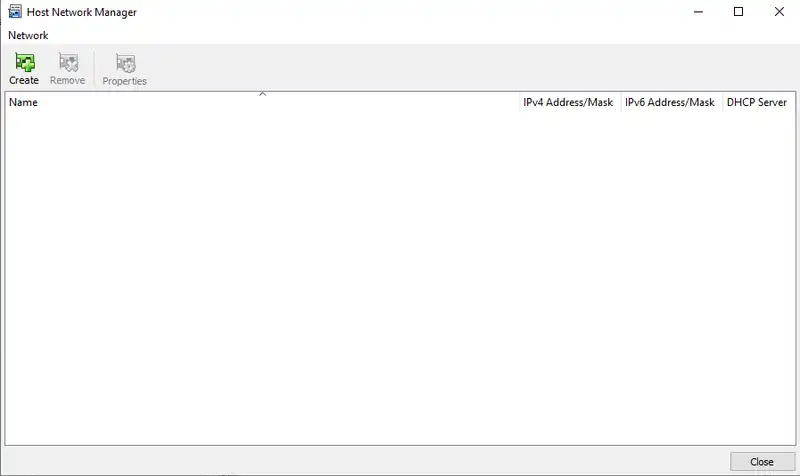
On Windows you may get prompted by User Access Control to confirm that this application can make changes to your system. Click “Yes”
-
Make sure the new VirtualBox Host Adaptor is selected and click “Properties”. Update the IPv4 Address to 192.168.56.1 and ensure “DHCP Server” is checked.
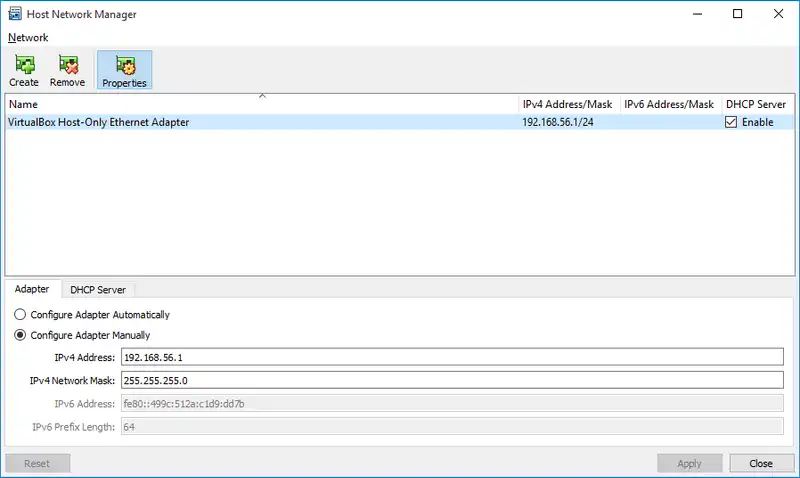
On Windows you may get prompted by User Access Control to confirm that this application can make changes to your system. Click “Yes”
-
Configure the new adaptor. Ensure the VM is powered off, then Right Click the Virtual Machine name to access Settings.
-
In the VM settings, navigate to
Network > Adapter 2 > Enable. Set “Attached To” to “Host-only Adapter”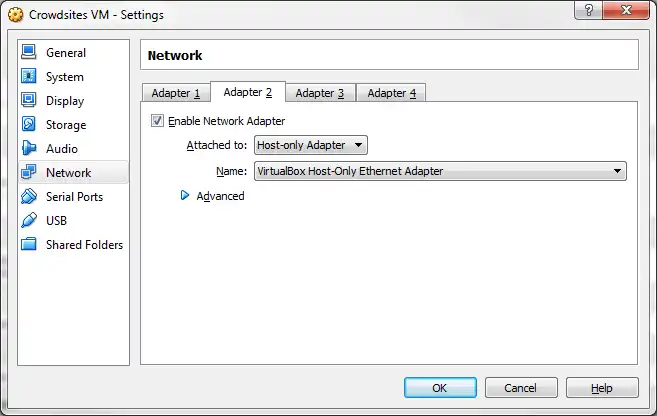
-
Configure the Virtual machines network settings. Start the VM and edit the network configuration.
-
Edit the netplan yaml file. Type the below and press Enter.
sudo nano /etc/netplan/50-cloud-init.yaml -
Replace the contents of the file to match the screenshot below. You cannot use Tabs in this file. Use four Spaces for each instead.

(If
falsedoesn’t work, usenoinstead). - Hit
Ctrl + Xto exit, typeYto save, then hit Enter to save the file and exit the editor -
Apply the netplan and restart the VM. Type the below and press Enter after each line.
 sudo netplan apply
 sudo reboot
-
- Ensure new IP address is set. You should see
enp0s8with the IP address assigned as above and it should be UP and RUNNING. Run the following in your virtual machine to check this is working:ifconfig -a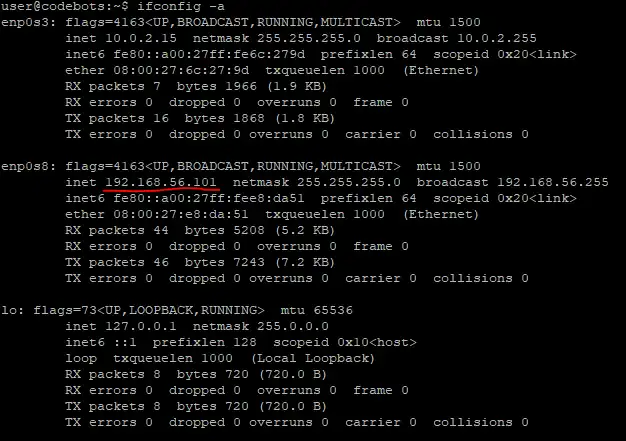
-
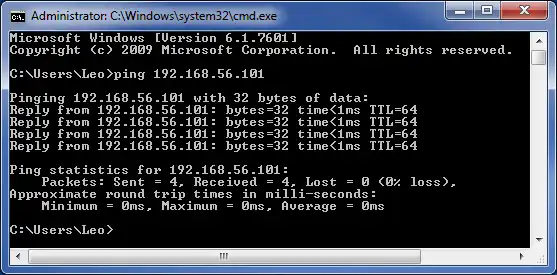
Check the virtual machine is reachable from your host machine
- From the command line of your host machine (i.e. for Windows, press the “Windows” key, type
cmdand select the “Command Prompt” option. When the Command Prompt window opens, type the following and press Enter:ping 192.168.56.101 -
Ensure you get a reply
- From the command line of your host machine (i.e. for Windows, press the “Windows” key, type


You now have the ability to SSH into your virtual machine. It is recommended to use a tool like PuTTY or Terminal to connect to remotely connect to your virtual machine. Doing so will give you the ability to copy and paste scripts from the articles into your virtual machine. Instructions for this process can be found in Connect to your server.
To install the required dependencies for a SpringBot application, please complete the Setting Up Your Development Environment: Linux lesson.
Was this article helpful?