Adding the Workflow extension to your application
Since the Workflow extension has no user-facing functionality (except for an additional field when editing the entity), there will be no need to work within the User Interface or Security diagrams. Instead, all of the work lies within the Entity diagram.
This process is very simple, as a majority of the workflow configuration is done in your target application’s administration section. On the platform, there are only three steps:
- Choose the entity which you want the workflow to be associated with, and make sure it is selected.
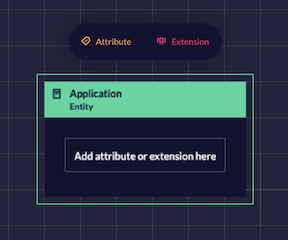
- With the entity selected, click ‘Extension’ in the ‘Add items’ panel above the entity, and select ‘Workflow’.
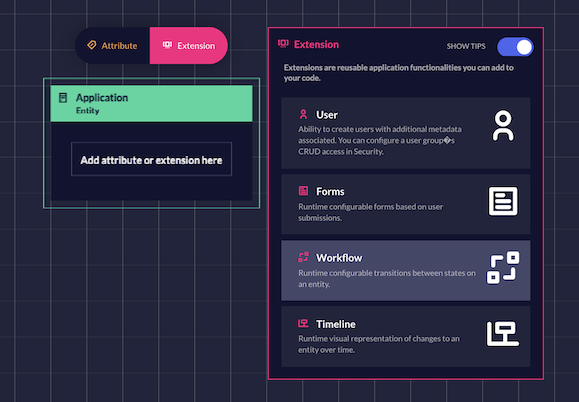
- If done correctly, you will now see the Workflow extension listed alongside the existing attributes in the entity.
That is all there is to it! When you are ready, go ahead and click on the ‘Build app’ button in the top right-hand corner. From this point on, the workflow is configured inside the app itself.
If you want to apply the workflow against multiple entities, you need only add the extension to those entities as well, and they will become available for you to select in your app’s backend.
Was this article helpful?