Running C#Bot
This article demonstrates the relevant procedure to configure database connection, install node modules, and run the C#Bot application.
This article assumes you have already setup a development environment for your specific operating system (C#Bot Setting Up Your Development Environment: Windows, C#Bot Setting Up Your Development Environment: Linux and C#Bot Setting Up Your Development Environment: Mac), the C#Bot Development Environment: Source Code lesson has been completed, and you have pulled your git repo to your machine.
For this guide, we assume Windows users are using Powershell and Linux/Mac users are using Bash as their shell.
A: First time setup
Database Connection Configuration
If you have followed the Setting Up Your Development Environment guide for your specific operating system (C#Bot Setting Up Your Development Environment: Windows, C#Bot Setting Up Your Development Environment: Linux and C#Bot Setting Up Your Development Environment: Mac) and chosen to use the default database configuration while installing PostgreSQL, you can skip these Database Connection Configuration steps.
You can configure your database credentials by changing the projects appsettings.xml, appsettings.Test.xml and appsettings.Development.xml files:
-
appsettings.xmlcontains the settings used for productions. -
appsettings.Development.xmlcontains the settings used for development. -
appsettings.Test.xmlcontains the settings used for the testing framework.
-
Launch Powershell or Bash if Linux/Mac and navigate to the project directory.
cd [path to application]/serverside/src -
Open the desired
appsettingfiles and update the DbConnectionString username and password properties to match the username and password set during postgresSQL setup.
The port can be set by appending to the connection string
Port=x;wherexis the desired port number.See this Official Documentation from the npgsql website for more information on database connection string properties.
-
Once you have customised your database connection string, you will need to turn on the protected region to prevent C#Bot from overriding your changes in the future.

Database Update
Now that the database connection has been configured, the database itself needs to have all tables setup before first run.
-
Navigate to the source folder on the server-side.
cd [path to application]/serverside/src -
Create the migrations script
dotnet ef migrations add [migration name] -
Execute the migrations
dotnet ef database update
Installing Node Modules
Before the application can be run for the first time, the javascript dependancies need to be installed.
-
Navigate to the clientside folder from your windows or Linux/Mac terminal of choice.
cd [path to application]/clientside -
Use npm to install yarn package manager.
npm install -g yarn -
Install node modules using yarn.
yarn install
Creating a Solution file
By default a sln file is not created, but this can be fixed from the dotnet command line.
-
Navigate to the root directory of your project.
cd [path to application] -
Create a new solution file.
dotnet new sln -
To add the dependent projects to the solution run the following commands in the same directory as the sln file
 dotnet sln add serverside/src/[name of your application].csproj
 dotnet sln add testtarget/Serverside/ServersideTests.csproj
 dotnet sln add testtarget/Selenium/SeleniumTests.csproj
 dotnet sln add testtarget/API/APITests.csproj
 dotnet sln add testtarget/TestDataLib/TestDataLib.csproj
B: Launching the development environment
C#Bot writes applications that can be launched with a single dotnet command. This means the server-side and client-side of the application are launched together since the client requires API’s with the server-side to operate.
-
Firstly navigate to the serverside directory from your windows or Linux/Mac terminal of choice.
cd [path to application]/serverside/src -
Run the following command to start the development server and clientside
dotnet run -
Launch a browser of your choice i.e. firefox or chrome etc and navigate to http://localhost:5000. The development application should now be running.
C. Launching the production environment
-
Firstly navigate to the serverside directory from your windows or Linux/Mac terminal of choice.
cd [path to application]/serverside/src -
Enter the following command to publish the production .dll’s
dotnet publish -c Release -
Navigate to the directory where the files have been published
cd [path to application]/serverside/src/bin/Release/netcoreapp2.2/publish -
Run the production build:
dotnet [application name].dll -
To run the application, launch your favorite browser i.e. chrome and navigate to http://localhost:5000. The production application should now be running.
D: Logging in to the application
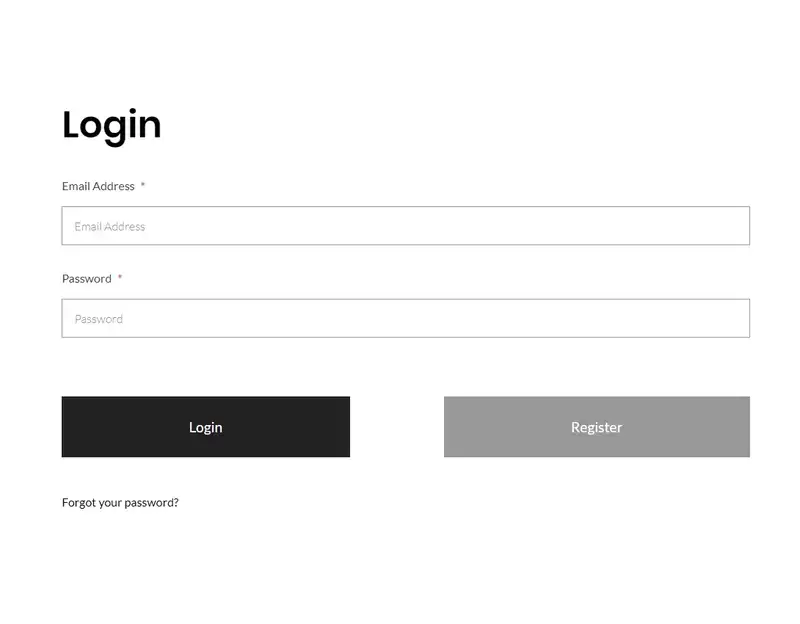
When navigating to http://localhost:5000 you should be redirected to a login screen. You can use these credentials to log in, or you can create a new user account.
Username: super@example.com
Password: password

Related Articles
Was this article helpful?